Welcome Home and The Round Table

Welcome to 2026!
I hope everyone is having a great summer! I wanted to share some of what's been going on behind the scenes as the feeds have been a little quite lately. First major milestone is that the website is officially up and running; feel free to share KingsPlateCooking.com! I kicked King's Plate officially off in early January 2019. I've always wanted to share this culinary journey and this is another stepping stone on that path. The platform is custom built from the ground up and a now a permanent home for everything I do with King's Plate and more. Many people have asked for recipes that I've used and created, and this is the central place for them to live and be shared. I want everyone to be able to use these and collectively we can make improvement. Additionally, we'll be able to start a few blog series, show off future swag, and have community spot lights that really grow the community.
Recipes
The primary goal of this site is to share recipes. While the majority of recipes you will find here will be recipes I have worked on (KPC Originals), you'll also see some Collab tags. These will be recipes that come from blog spotlights in The Round Table series (more below) as well as direct recipe collaborations featured on social media. Each recipe will be tried and tested and have actual photos of the cook to showcase them. No AI generated meals, real food from real people. There's no filler stories that you have to scroll a mile to find the recipe. Just a quick description so you know what you're cooking and you're into the meat of the recipe. Along the way I'll also be looking to work through the recipes to include YouTube videos of how they're made. The recipe pages are ready for viewing but I'd love your feedback on how to improve the experience.
Blogs
Something that I've been trying to work on is creating a community. My thought on what King's Plate is was never to be a stand alone cook telling you how to do everything. There no way I'm going to be an expert on everything so I'm not going to try to be. Instead I'd like to bring in collaborations with people from the community who have made recipes that really work. We did a small run of this idea back in 2021 but it lacked a permanent home. Now it has one. So reintroducing The Round Table! This isn't going to just be your traditional food blog series. Each featured posting will give a spotlight to the chef, share a recipe they want to put forward, and rounds up with a details and information they'd like to share. To cap it off, we'll extract those recipes and make them available (with credit of course) right here on the site.
Newsletter
And finally, we're building a newsletter. Not everyone wants to doom scroll social media. If that sounds like you, and you'd like to just get updates once a month or so, then the newsletter is just for you! Sign up to get the last months recipes, chef spotlights, and updates on the site delivered straight to your inbox. No spam, just real food and community collabs!
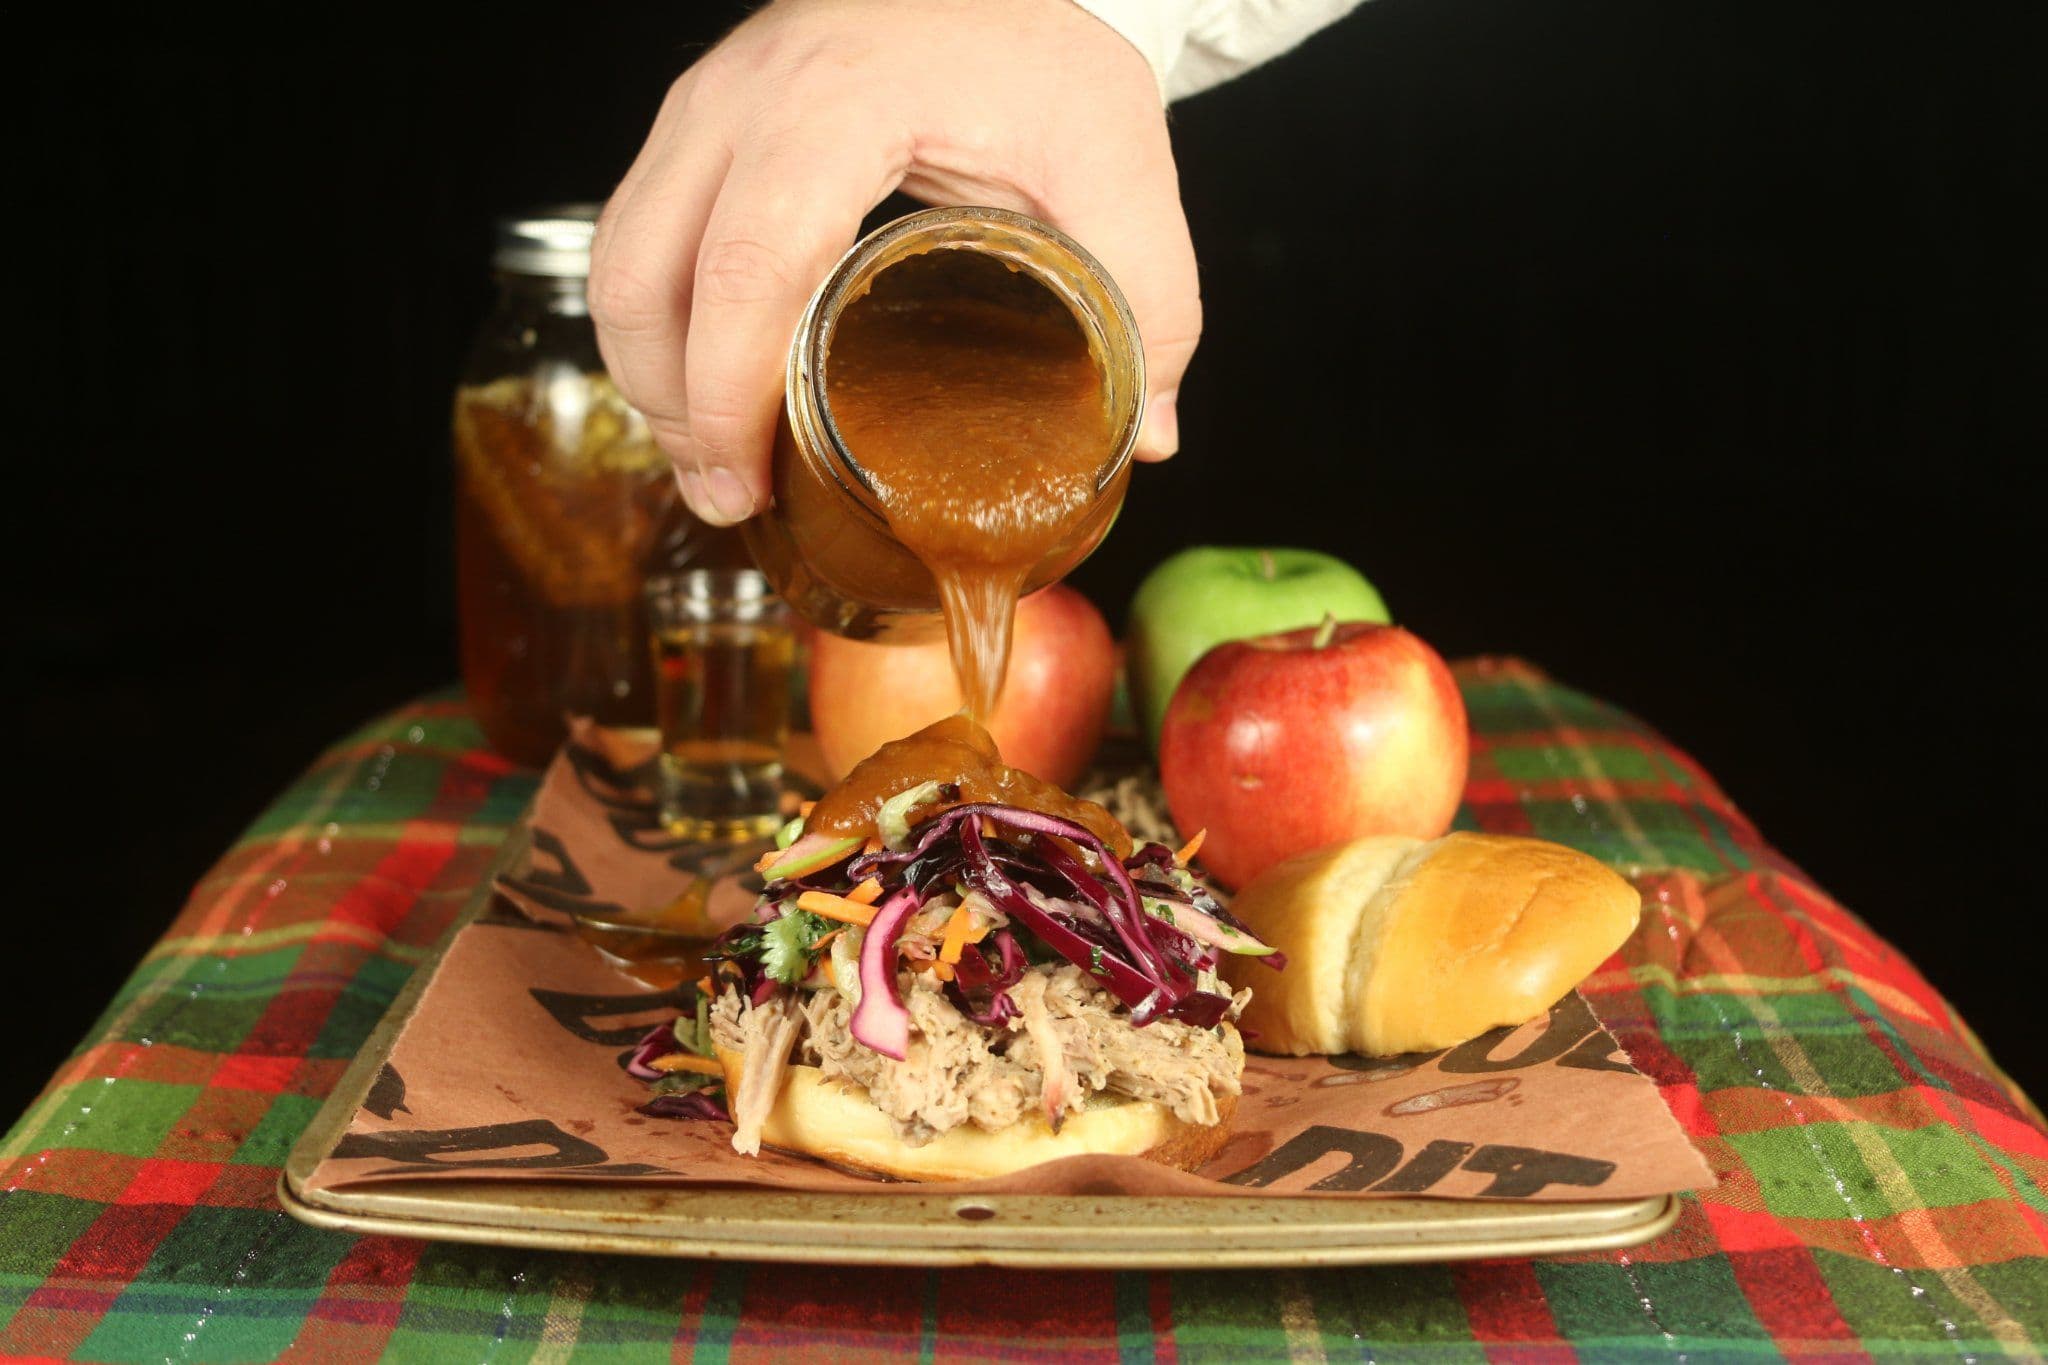
And, as promised, here's a throwback to our Apple Juice Brined Pulled Pork!
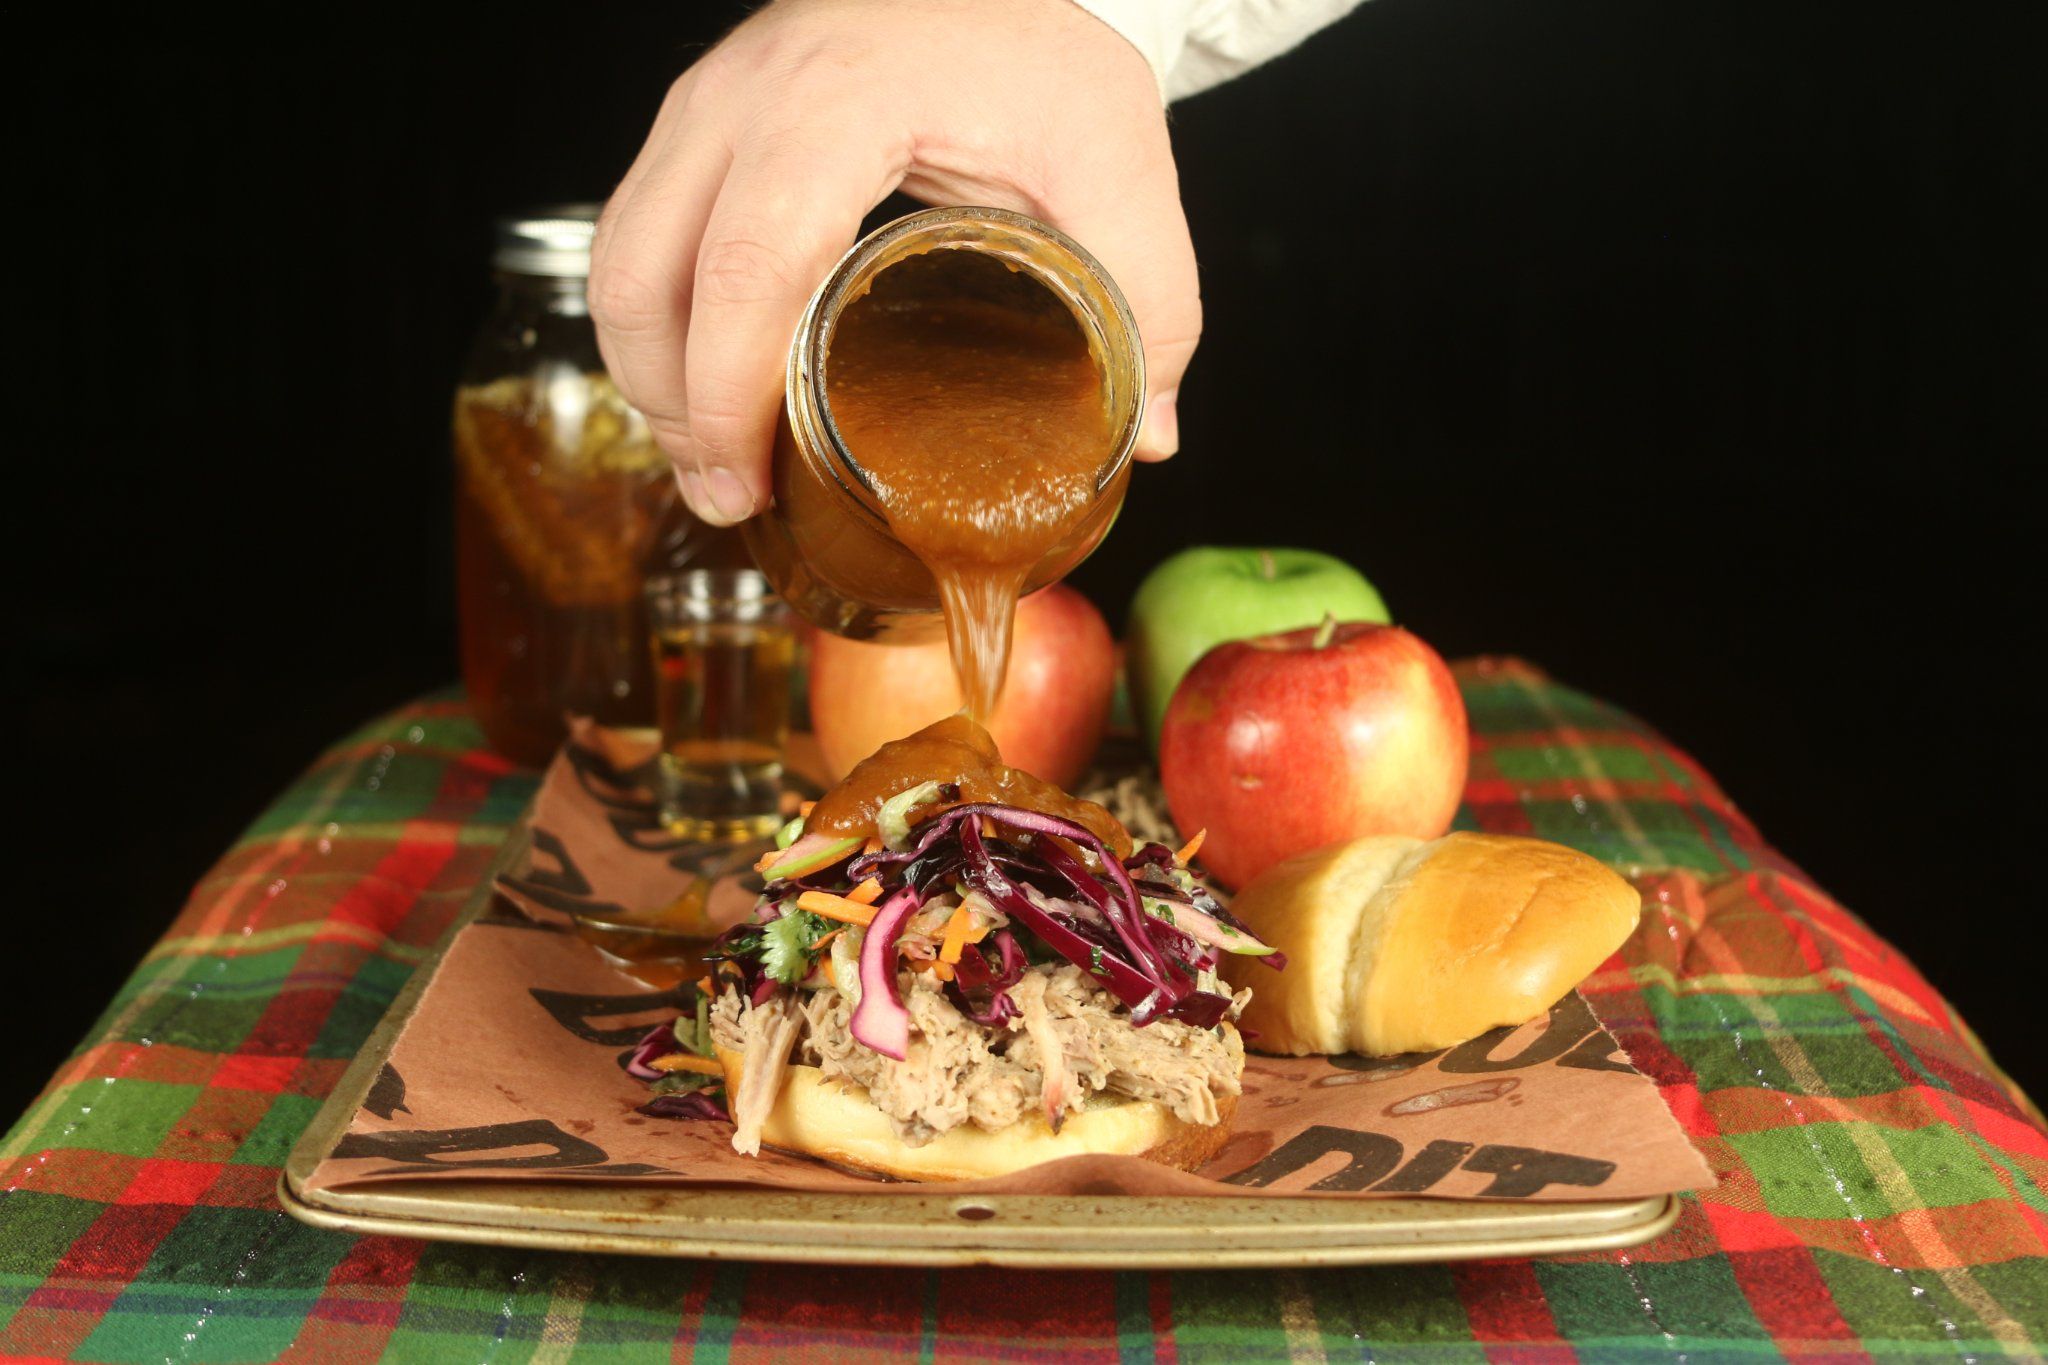
Apple Juice Brined Pulled Pork
9-12 lb bone-in Pork Butt/Shoulder
1 bottle Pork Rub
2 cup Ice
Brine:
4 cup Apple Juice
2 cup cold water
1 cup Brown Sugar, packed
1 Lemon, sliced
1 Orange, sliced
2 tbsp Thyme
2 tbsp Rosemary
1 tsp Black Pepper
1) Combine brine ingredients in a pot and bring to a simmer. Once salt and sugar have dissolved, remove from heat and add Ice. Let brine cool completely before moving to step 2.
2) Place Pork in a food-safe bucket ( I use a 5 gallon food bucket from Home Depot) and pour over with brine. Make sure to fully submerge the pork in the brine. Cover and refrigerate (12-24 hours).
3) Prep smoker to 225°F. Remove the Pork from the brine. Using a meat injector, inject the pork with some of the brine. I try to do a grid pattern every few inches across the entire roast. Save about 2 cups of the remaining brine for later.
4) Season the entire roast with the rub. You shouldn’t need an entire bottle but don’t skimp. Since the pork is still wet, don’t worry about an additional binder.
5) When fully seasoned, place in the smoker. Fat side up or down is your choice, I typically do fat side up in my vertical smoker. Let it smoke for 3-4 hours, mopping with the reserved brine every hour after the first.
6) After the 3-4 hours, transfer the pork to an aluminum pan and increase the smoker to 250°. A disposable pan works great or you can use restaurant catering pans from stores like Sam’s Club. At this point you can either cover the pan with aluminum foil to trap in more of the juices or leave uncovered for a nicer bark. I recommend the bark route unless it starts to brown too much.
7) Let the roast continue to smoke until the thickest part reads 204° degrees, anywhere from another 6-8 hours typically. Check with a thermometer for tenderness and don’t rely on just time cooked.
8) When the roast is finished cooking, remove from the smoker and let it rest. I try to aim for 2 or so hours. Many people will place the roast in an ice chest (still in the pan and covered with foil) but I prefer to use my oven if it’s available. The goal is to let the meat reabsorb all the juice so a longer rest is the way to go. Just make sure it doesn’t fall into the food danger zone (140°) but shouldn’t be an issue if you’re resting it properly.
9) Once rested, pour the juices from the pan into a gravy separator. Pull/shred the pork by hand (or claws if you prefer) into chunks. I suggest wearing gloves during this process. It’s both messy and typically very hot. Discard any bones and lumps of fat. Once shredded, you can reintroduce some of the juice and add more of the rub to desired taste. If making sandwiches, I recommend using the Slaw down below.
Granny Smith Apple Slaw
2 cup Red Cabbage, shredded
1 cup Lettuce (Green Cabbage also works), shredded
1 Granny Smith Apple
1 cup Carrots, shredded
½ cup Cilantro, chopped
2 tbsp EVOO
2 tbsp Honey (local is better!)
2 tbsp Apple Cider Vinegar
1 tbsp Lime Juice
1) Slice the apple into small, matchstick sized pieces. Discard the core and seed.
2) In a small bowl mix the EVOO, Honey, Apple Cider Vinegar, and Lime Juice until fully incorporated.
3) In a large mixing bowl, add all ingredients and toss until everything is well coated.
4) Serve on top of the above pulled pork with a bun!